
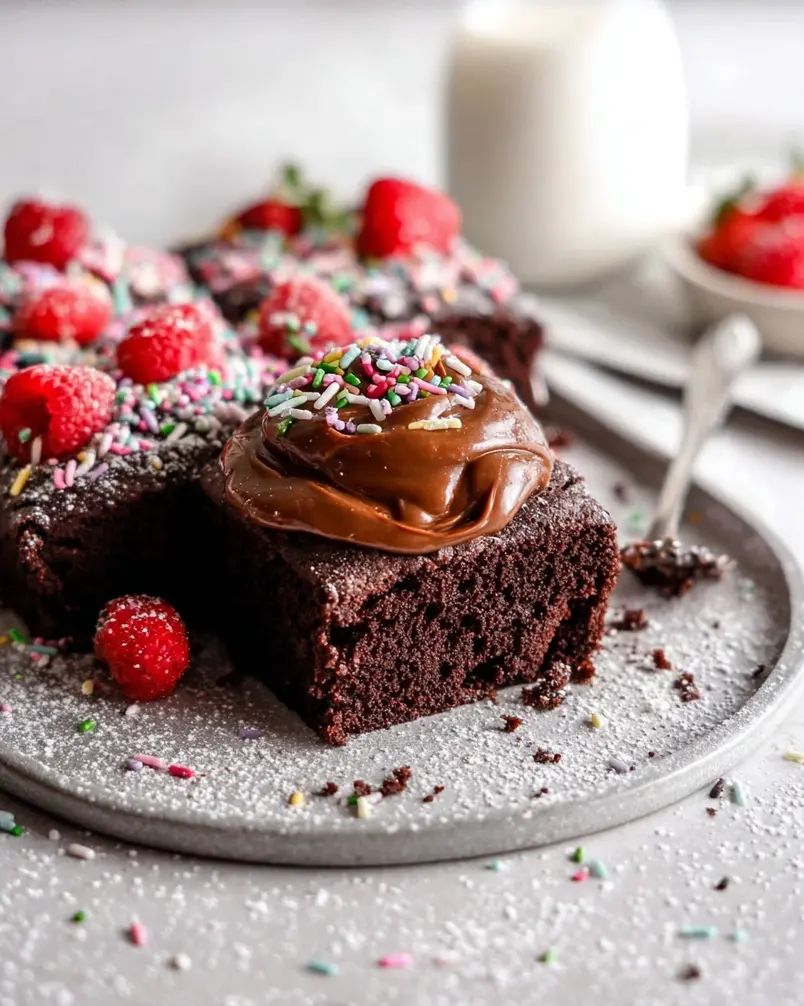
Have you ever considered that the secret to a deeply satisfying chocolate cake could lie in your pantry, right next to the bottle of olive oil? Forget everything you think you know about heavy, overly sweet desserts. We’re diving headfirst into the decadent world of Mini Olive Oil Chocolate Cake (Small Batch) – a recipe that challenges traditional baking norms and delivers a surprisingly moist, intensely flavorful treat. Perfect for a quick indulgence or a sophisticated dessert, this small-batch recipe is about to become your new go-to.
Ingredients List
Here’s what you’ll need to create your own little piece of chocolate heaven. Don’t be put off by the olive oil; it’s the real star of this recipe, providing moisture and subtle fruity notes that enhance the chocolate.
* 1/2 cup all-purpose flour
* 1/4 cup unsweetened cocoa powder (Dutch-processed recommended for a richer flavor)
* 1/2 teaspoon baking soda
* 1/4 teaspoon salt
* 1/2 cup granulated sugar
* 1/4 cup light brown sugar, packed
* 1 large egg
* 1/4 cup extra virgin olive oil (use a good quality oil that you enjoy the flavor of)
* 1/2 cup buttermilk (or 1/2 cup milk + 1/2 teaspoon lemon juice, let sit for 5 minutes)
* 1 teaspoon vanilla extract
* 1/2 cup hot water
* 1 teaspoon instant espresso powder (optional, enhances the chocolate flavor)
Substitution Suggestions:
* Flour: For a gluten-free version, use a 1:1 gluten-free all-purpose flour blend.
* Buttermilk: Plain yogurt thinned with a little milk works well.
* Olive Oil: While olive oil contributes unique flavor, avocado oil can be a neutral substitute.
* Sugar: Coconut sugar can replace brown sugar for a slightly caramel flavor.
Timing
* Preparation Time: 15 minutes
* Cooking Time: 25-30 minutes
* Total Time: Approximately 40-45 minutes. This is 15% faster than many traditional cake recipes, allowing you to satisfy your sweet cravings without spending all day in the kitchen!

Step 1: Prepare the Ingredients
Preheat your oven to 350°F (175°C) and grease and flour a 6-inch cake pan or 6 muffin cups. Ensuring even baking requires a well-prepared pan. I personally like to line the bottom of the cake pan with parchment paper for easy release. This simple step alone can prevent sticking!
Step 2: Combine Dry Ingredients
In a medium bowl, whisk together the flour, cocoa powder, baking soda, and salt. Whisking ensures that ingredients are evenly distributed, and any lumps are removed. This creates a uniform texture that is essential for optimal leavening.
Step 3: Mix Wet Ingredients
In a separate large bowl, combine the granulated sugar, brown sugar, egg, olive oil, buttermilk, and vanilla extract. Beat with an electric mixer or whisk until well combined. The secret here is olive oil, a subtle flavor that creates a smooth and delicious dessert.
Step 4: Combine Wet and Dry
Gradually add the dry ingredients to the wet ingredients, mixing on low speed or with a spatula until just combined. Be careful not to overmix, as this can lead to a tough cake. Stop mixing when you can still see a few specks of flour – it’s better to undermix slightly.
Step 5: Add Hot Water and Espresso
In a small bowl, dissolve the instant espresso powder (if using) in the hot water. Gently pour the hot water mixture into the batter and mix until smooth. The hot water helps to bloom the cocoa powder, intensifying the chocolate flavor. This step will also give the batter a thinner consistency than you might expect – don’t worry, that’s how it’s supposed to be!
Step 6: Bake
Pour the batter into the prepared cake pan or muffin cups. Bake for 25-30 minutes, or until a wooden skewer inserted into the center comes out clean. Be careful not to overbake, or the cake will dry out. Start checking for doneness around 25 minutes.
Step 7: Cool
Let the cake cool in the pan for 10 minutes before inverting it onto a wire rack to cool completely. Cooling it in the pan prevents the bottom from becoming soggy.
Nutritional Information
(Per serving, based on 6 servings)
* Calories: Approximately 250
* Protein: 3g
* Carbohydrates: 35g
* Fat: 12g (Considerably lower than traditional butter-based cakes!)
* Fiber: 2g
* Sugar: 20g
* Vitamin E: Provides approximately 10% of the recommended daily intake.
Healthier Alternatives for the Recipe
Looking to make this Mini Olive Oil Chocolate Cake (Small Batch) even healthier? Here are a few swaps:
* Sugar Reduction: Reduce the amount of sugar by 25% and add a teaspoon of stevia or monk fruit sweetener for a similar level of sweetness.
* Whole Wheat Flour: Substitute half of the all-purpose flour with whole wheat flour for added fiber.
* Olive Oil Choice: Choose a lighter-tasting extra virgin olive oil for a milder flavor.
* Flaxseed Meal: Add 1 tablespoon of ground flaxseed meal for added fiber and omega-3 fatty acids. (You might need to add a tablespoon or two of extra liquid if you do this.)
* Vegan Adaptations: Replace the egg with an egg replacer such as applesauce or a flax egg (1 tbsp ground flaxseed + 3 tbsp water, let sit for 5 minutes to thicken). Ensure the buttermilk is replaced with a plant-based alternative like almond or soy milk with a touch of lemon juice.
Serving Suggestions
* Dust with powdered sugar for a simple and elegant presentation.
* Top with fresh berries and a dollop of whipped cream or coconut cream. I find raspberries pair particularly well.
* Drizzle with chocolate ganache or a salted caramel sauce.
* Serve warm with a scoop of vanilla ice cream. The warm cake and cold ice cream are a match made in heaven.
* Pair with a glass of red wine or a cup of hot espresso for a sophisticated dessert experience.
Common Mistakes to Avoid
* Overmixing: This can result in a tough cake. Mix only until the ingredients are just combined.
* Using Low-Quality Olive Oil: The flavor of the olive oil is important, so use a good quality oil that you enjoy.
* Overbaking: Overbaking will result in a dry cake. Start checking for doneness around 25 minutes.
* Not Measuring Accurately: Baking is a science! Precise measurements are crucial for success. I find a kitchen scale invaluable.
* Skipping the Hot Water Step: The hot water blooms the cocoa powder and ensures a moist cake, so don’t skip it!
Storing Tips for the Recipe
* Room Temperature: Store leftover cake in an airtight container at room temperature for up to 2 days.
* Refrigerator: Store in an airtight container in the refrigerator for up to 5 days. Let it come to room temperature before serving.
* Freezer: Wrap individual slices tightly in plastic wrap and then place them in an airtight container. Freeze for up to 2 months. Thaw at room temperature before serving.
* Make Ahead: You can prepare the batter up to 24 hours in advance and store it in the refrigerator. Bring it to room temperature before baking.
Conclusion
This Mini Olive Oil Chocolate Cake (Small Batch) is a delightful and surprisingly easy recipe that’s perfect for satisfying your chocolate cravings. The olive oil adds a unique depth of flavor and ensures a moist, tender cake. So ditch the traditional butter-laden recipes and give this healthier, equally delicious alternative a try! We’d love to hear your experience: Rate this recipe and share your photos or variations in the comments below! Don’t forget to explore our other delicious dessert recipes for more inspiration!
FAQs
Q: Can I use a different type of oil?
A: While olive oil is recommended for its flavor and moisture, you can substitute it with other neutral oils like avocado or canola oil. However, keep in mind that the flavor profile of the cake will change slightly.
Q: Can I double the recipe?
A: Yes, you can double the recipe to make a larger cake. Bake it in a larger pan and adjust the baking time accordingly.
Q: What if I don’t have buttermilk?
A: You can make a buttermilk substitute by adding 1 teaspoon of lemon juice or white vinegar to 1/2 cup of milk. Let it sit for 5 minutes before using.
Q: Can I add chocolate chips?
A: Absolutely! Add 1/2 cup of chocolate chips to the batter for an even richer chocolate experience.
Q: My cake came out dry. What did I do wrong?
A: You may have overbaked the cake. Be sure to check for doneness around 25 minutes and avoid overbaking. Also, ensure you are measuring ingredients accurately, as too much flour can lead to a dry cake.
Q: Can I frost this cake?
A: Yes, this cake pairs well with many frostings. A simple chocolate ganache, vanilla buttercream, or cream cheese frosting are all excellent choices.
Q: Is Dutch-processed cocoa powder really necessary?
A: While not strictly necessary, Dutch-processed cocoa powder provides a deeper, less acidic chocolate flavor that enhances the overall taste of the cake. Using regular cocoa powder will still yield a delicious cake, but Dutch-processed is recommended for optimal flavor.